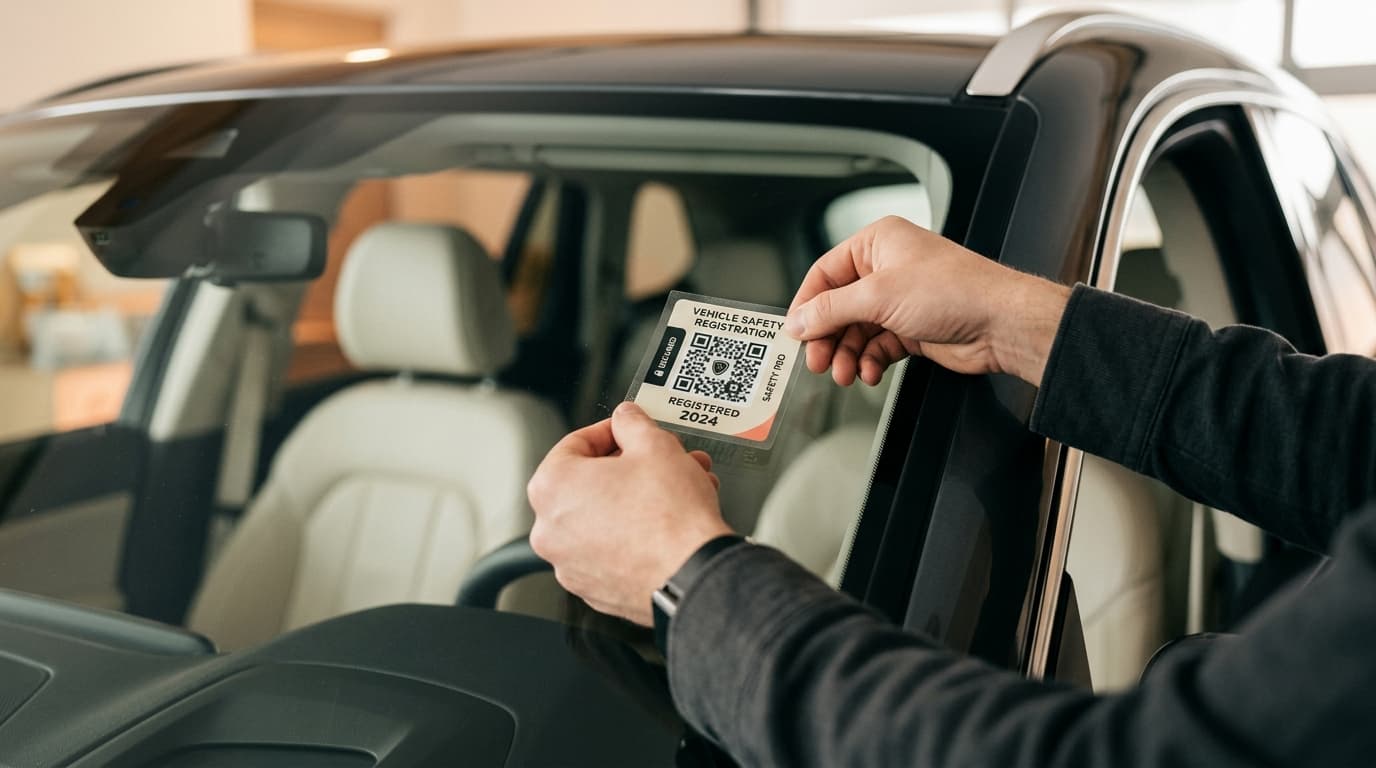
“Automotive glass is subjected to severe environmental stress: intense solar UV radiation, thermal expansion shifts from 2°C to 75°C, acidic road grime, alkaline windshield washer detergents, and heavy monsoon rains. Simply slapping a safety decal onto dirty glass ensures premature peeling and bubbling. Following this pin-to-pin preparation protocol guarantees optical clarity and multi-year adhesive cross-linking.”
1. The Chemistry of Glass Contamination: Why Water and Soap Fail
Automotive glass is naturally hydrophilic, but ambient traffic conditions quickly deposit an invisible layer of hydrophobic contaminants: unburnt diesel hydrocarbons, silicone oils from car waxes, and plasticizer migration from the interior dashboard. Wiping glass with ordinary water or cloth merely smears these oils into a microscopically thin barrier.
When an adhesive decal is applied over this oil barrier, the pressure-sensitive acrylic polymers cannot wet the silica substrate. Within weeks, diurnal thermal expansion creates micro-voids, causing the edges to curl and lift.
2. The Four-Stage Surface Degreasing Protocol
For permanent, bubble-free bonding, execute this four-stage preparation protocol:
Dry Microfiber Debris Sweep
STAGE 1Use a clean, dry microfiber towel to gently wipe away loose dust, road grit, and pollen from the target glass area to prevent scratching during degreasing.
Isopropyl Alcohol (IPA) Solvent Wash
STAGE 2Spray 70% to 90% pure Isopropyl Alcohol directly onto a fresh microfiber cloth (not onto the glass). Thoroughly scrub a 15cm x 15cm area in overlapping circular motions to dissolve silicone oils and dashboard wax.
Dry Flashing & Inspection
STAGE 3Immediately buff the area with a dry section of the cloth before the alcohol evaporates naturally. The glass surface should exhibit absolute optical clarity with zero rainbow hazing or oil streaks.
Precision Decal Application
STAGE 4Peel the protective release liner at a 180-degree angle. Align the decal 15mm clear of the ceramic frit border. Apply the top edge first, then smoothly roll the decal downward using a felt-tipped squeegee to expel all trapped air.
3. Curing Phases and Environmental Protection
Cross-linked acrylic adhesives do not achieve immediate full bonding strength upon application. Understanding the curing timeline prevents accidental delamination:
| Elapsed Time | Percentage of Bond Strength | Permitted Environmental Exposure |
|---|---|---|
| Immediate (0-15 mins) | 25% - Initial Tack | Normal ambient driving; avoid touching or pressing edges |
| 1 to 6 Hours | 60% - Functional Bond | Resistant to ambient humidity and highway air currents |
| 24 Hours | 90% - Structural Bond | Resistant to high-pressure washing and heavy rain |
| 72 Hours | 100% - Full Cross-Link | Immune to 75°C cabin heat and freezing temperatures |
Can I peel off and reposition the decal if I place it crooked?
No. Once an optical acrylic adhesive makes contact with degreased glass, peeling it causes stretching of the PET film and uneven adhesive tear, which creates permanent silvery air pockets upon re-application. If misaligned, it is recommended to request a replacement decal through your VaahanSafe dashboard.
How do I remove the decal when replacing my windshield?
Warm the decal gently with a hairdryer or park the car in the sun for 20 minutes to soften the acrylic bond. Lift an edge with a plastic razor blade and pull slowly at a 45-degree angle. Any residual adhesive wipes away cleanly with isopropyl alcohol.
- Ministry of Road Transport and Highways (MoRTH) Road Safety Guidelines & CMVR Decal StandardsSource: morth.nic.in
Central Motor Vehicles Rules regulations regarding safety decals on vehicle glazing
- ASTM D1000 — Standard test methods for pressure-sensitive adhesive-coated tapes used for electrical and electronic applicationsSource: astm.org
Adhesion testing, peel strength metrics, and thermal cycling durability standards
- AIS-026 — Automotive safety glazing testing and surface adhesion standardsSource: araiindia.com
Automotive glass surface tension and chemical compatibility requirements
Canonical reference guidelines and regulatory specifications under VaahanSafe Documents.
Learn how the vehicle safety identity works.
Industrial UV-cured optical decals connecting bystanders directly to your emergency contacts without exposing private phone numbers or home addresses.
Optical Contrast in Automotive Glazing: Why Clean Placement Matters
A deep engineering breakdown of automotive laminated glass, acoustic PVB plies, ceramic frit dot matrices, and ISO/IEC 18004 scannability under 100,000 lux Indian sunlight.
The Roadside Bystander Action Chain: First Steps at a Highway Incident
A pin-to-pin operational protocol for the critical first 15 minutes at an Indian highway accident: perimeter safety, optical QR relays, emergency dispatch, and cervical stabilization.